Contents
As soon as a user has logged in to the application, the Open Project page appears. Here the user can first differentiate between the tabs Local Projects and Server Projects.
The following explains the tab Server Projects.
Figure 1 shows an overview of all projects uploaded to the server. If no projects have been uploaded, or if there is no connection to a server, the list is empty.
The overview of the server projects shows all projects owned by the respective user or whose visibility has been approved for the user (either individually or globally for all).
If a server project is not visible to a user, it has not been made visible to the user (or to all).
If there is no connection to the server or if the current authentication information has expired or is no longer valid, the loading of the overview will be aborted accordingly.
The overview of server projects contains the same columns as local projects. In addition it shows the date of the last upload and the owner of the project.

Figure 1 - Overview server projects
By clicking the Download button |
|
a project can be downloaded from the server. Once a project has been downloaded from the server, it will be saved as a local copy in the Local Projects tab. |
|
Note: If a user is the owner of a project, the existing project ID of the server project is also used for the local administration. If there is already a local project with your own ID, it will be overwritten (after a corresponding security query). If a user is not the owner of a project, but only has read access (by specifying the corresponding visibility), then a new unique project ID is created, under which the project is then stored locally. This process created a new unique project from the server project whose (new) owner is the current user. The “new” local project can then be uploaded under the same name, since the internal assignment of the project IDs guarantees uniqueness of the projects. |
Via the button More Options |
|
the context menu for a server project can be called up. From here you can click on the Share button to share the corresponding project with other users. |
|
Note: The button More Options for the context menu is only available for the user’s own projects. |

Figure 2 - Share a project
A new window will then open, in which you can specify for whom the project should be shared (see Figure 3).
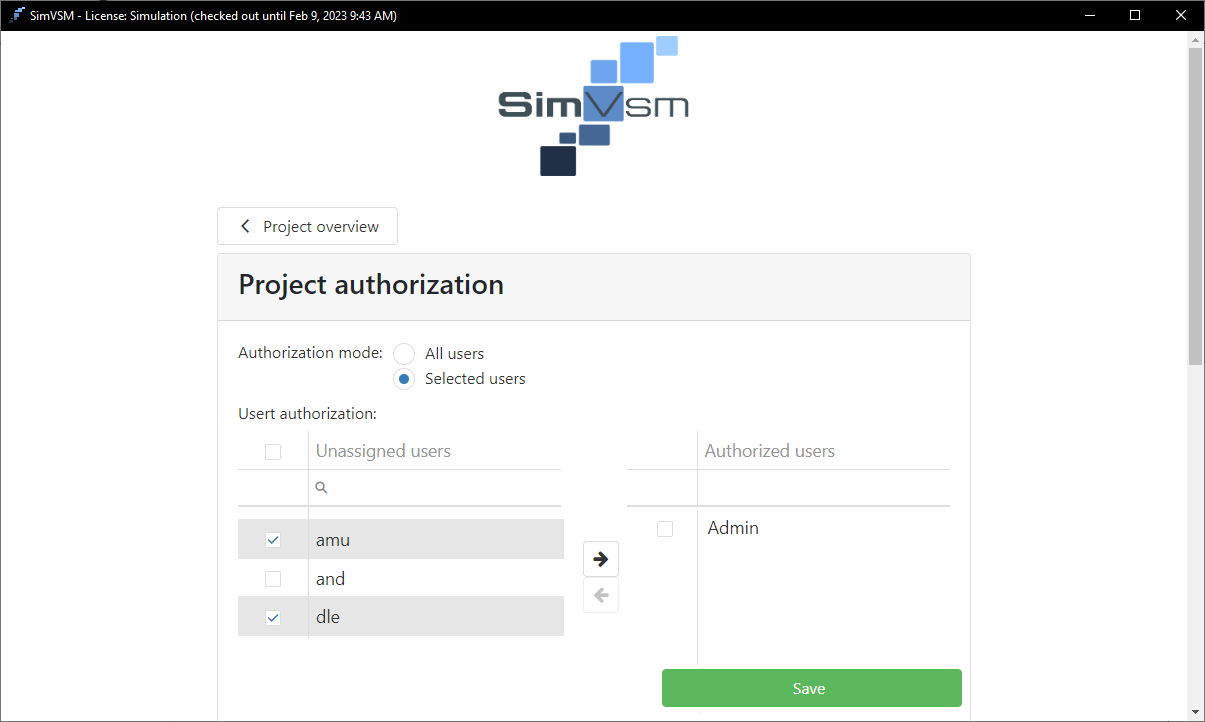
Figure 3 - Share settings
First, the share mode can be set. You can choose between All Users and Selective Users. If you select All Users, all available users will be granted the appropriate visibility.
The list shown in Figure 3 is greyed out; the saved shares are retained, so that created, selective shares can be restored by switching the mode.
If the share mode selective users is chosen, the Arrow buttons |
|
can be used to add the desired users from the column Unassigned users (left) to the column authorized users (right). |
A click on the Save button completes the authorization of the project. This automatically changes the view back to the project overview.
The button More Options |
|
can be used to call the context menu for each owned server project. Form here the project can be deleted by clicking on the Delete button. |
|
Note: The button More Options for the context menu is only available for the user’s own projects. |
When deleting a project, the following note is also displayed (see Figure 4):
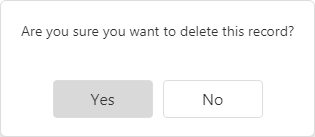
Figure 4 - Note when deleting a project
If this dialog is confirmed with Yes, the project will be deleted from the server.
To edit a server project it must first be downloaded via the Download button |
|
It then appears in the Local Project tab and can be edited as described in the chapter Local projects, section Edit a local project.
© SimPlan AG - Hanau District Court, Commercial Register (Part B) 6845 - info@simplan.de - www.simplan.de/en